Compact Spare Wheel & Tire Kit Installation Guide: For Tesla Model 3 / Y
WARNING
- Lift vehicle on level ground only.
- Never lift the vehicle from the battery; use factory designated jacking points.
- Never work under or place arm/legs underneath the vehicle without a jack stand.
- Spare tires are only meant for temporary use only. Observe the speed limit imprinted on
the tire.
GENERAL PRECAUTIONS
- Tires lose pressure over time. Check the tire pressure of your spare at least once a year
and fill up with air as necessary. - Inspect tire and wheel assembly for damage before use.
- When driving on a spare tire, vehicle must be driven slowly and defensively.
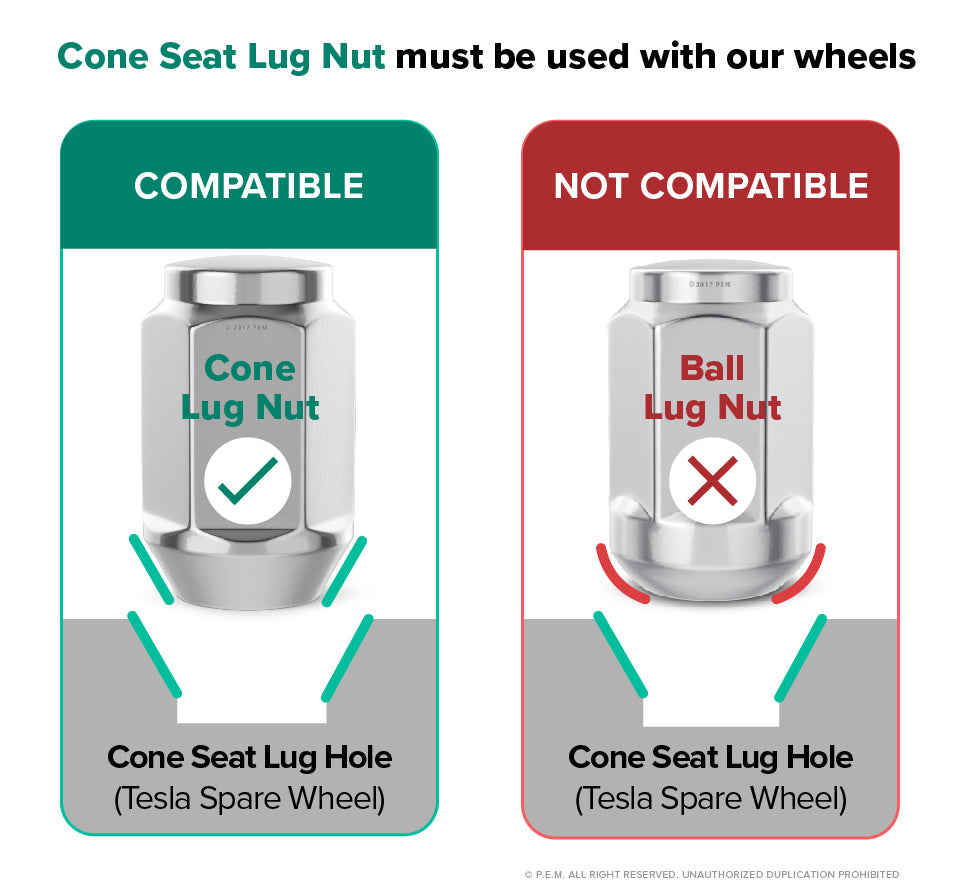
VERIFY WHEEL LUG SEAT BEFORE USE
For vehicles with non-OEM Tesla wheels - check the lug nut seat for compatibility. Mismatching lug seat between your lugs and our wheel may result in hardware loosening while driving, resulting in damage/injury.
INSTRUCTIONS
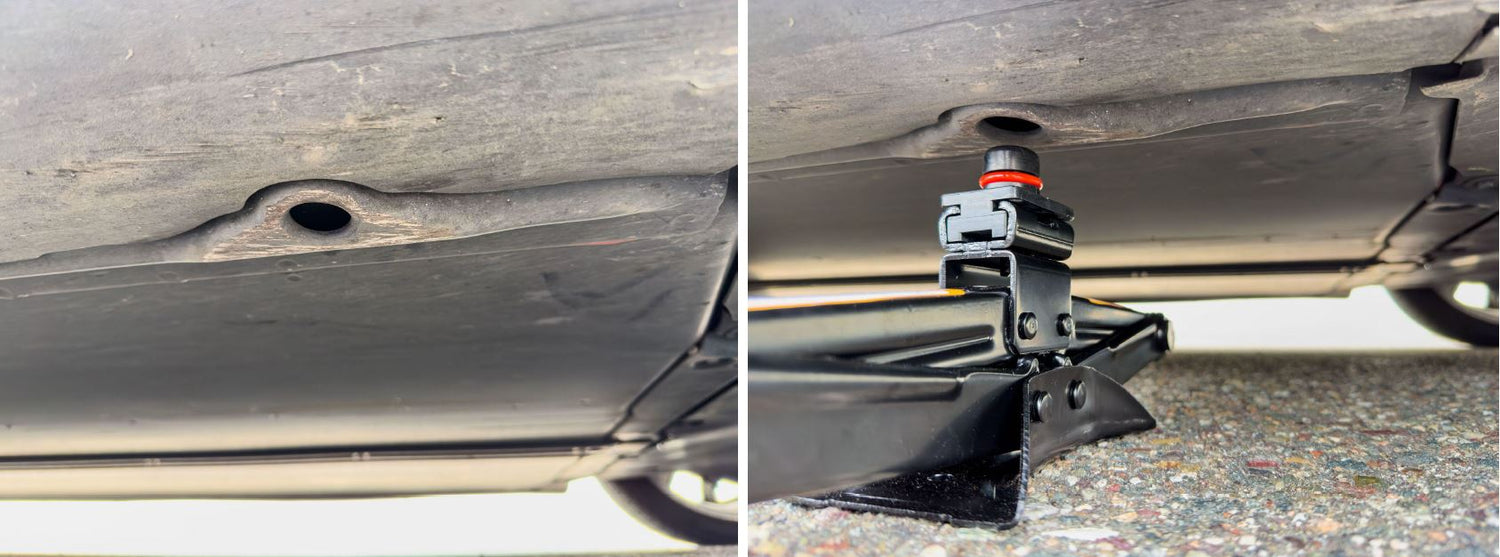
1. Look under your vehicle and locate the jack point and line up the jack with the opening.
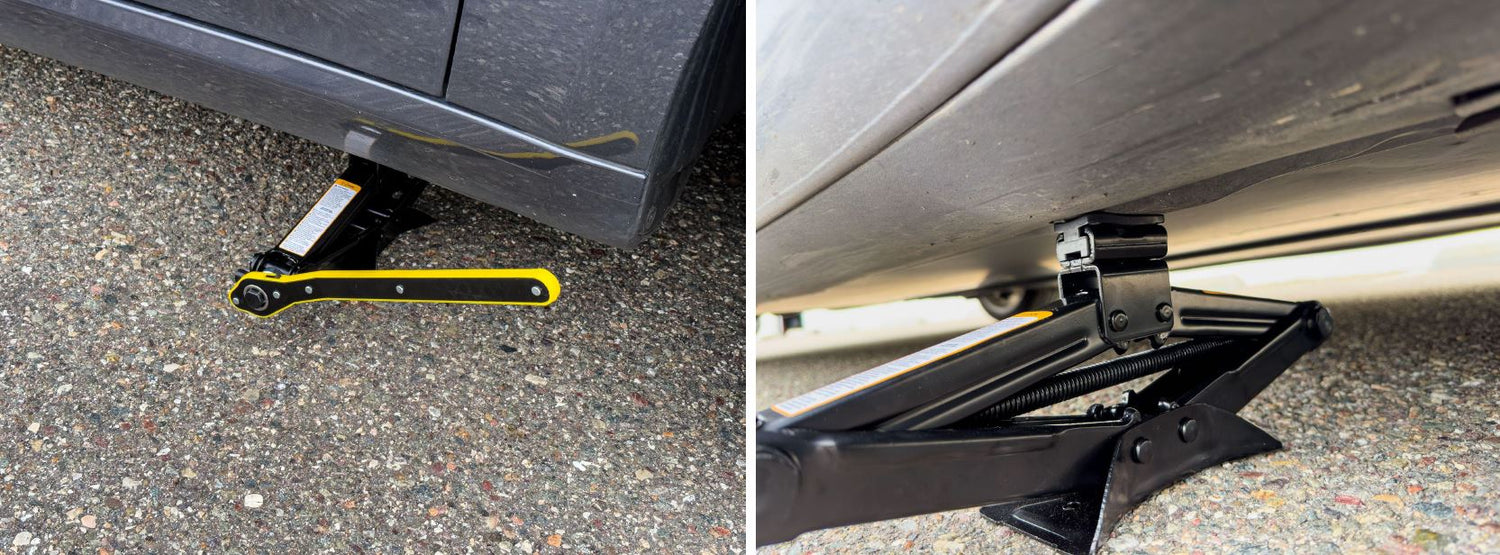
2. Use the included socket wrench to begin extending the jack, double checking to make sure the jack lines up with the opening as it gets extended.
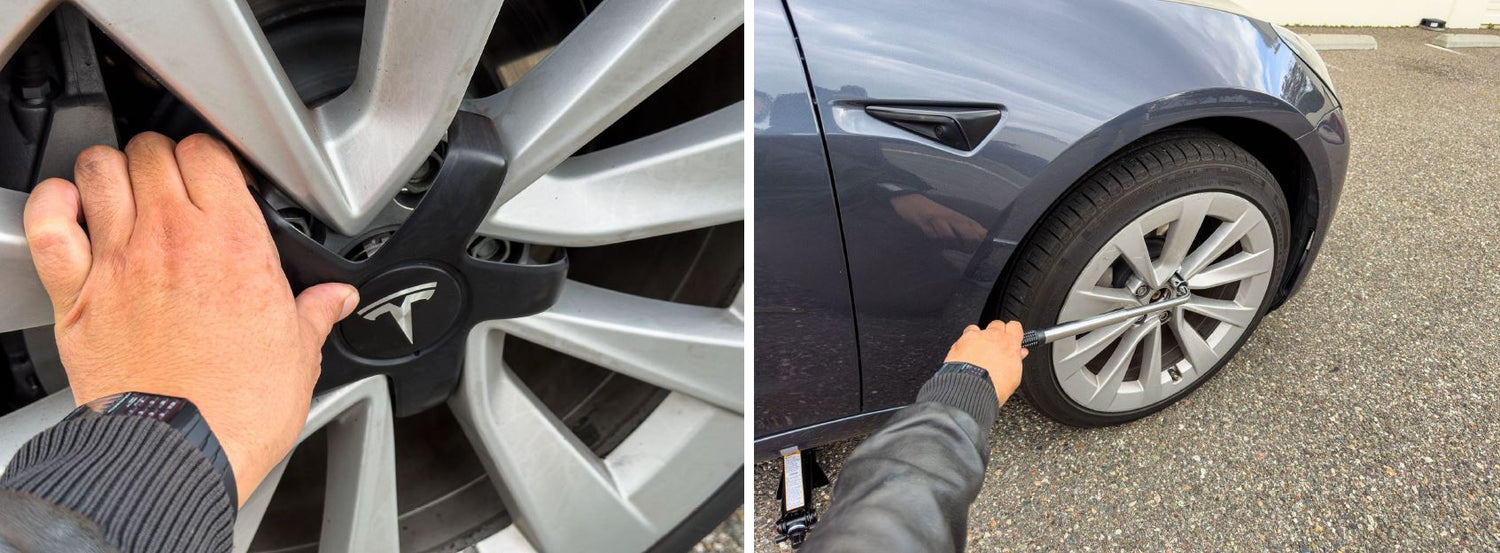
3. Before fully lifting the vehicle with the jack, you will need to loosen the wheel lug nuts. Start by removing the lug nut covers (if applicable) and begin by using the breaker bar to “break” the tension for each lug nut (DO NOT remove lug nut)
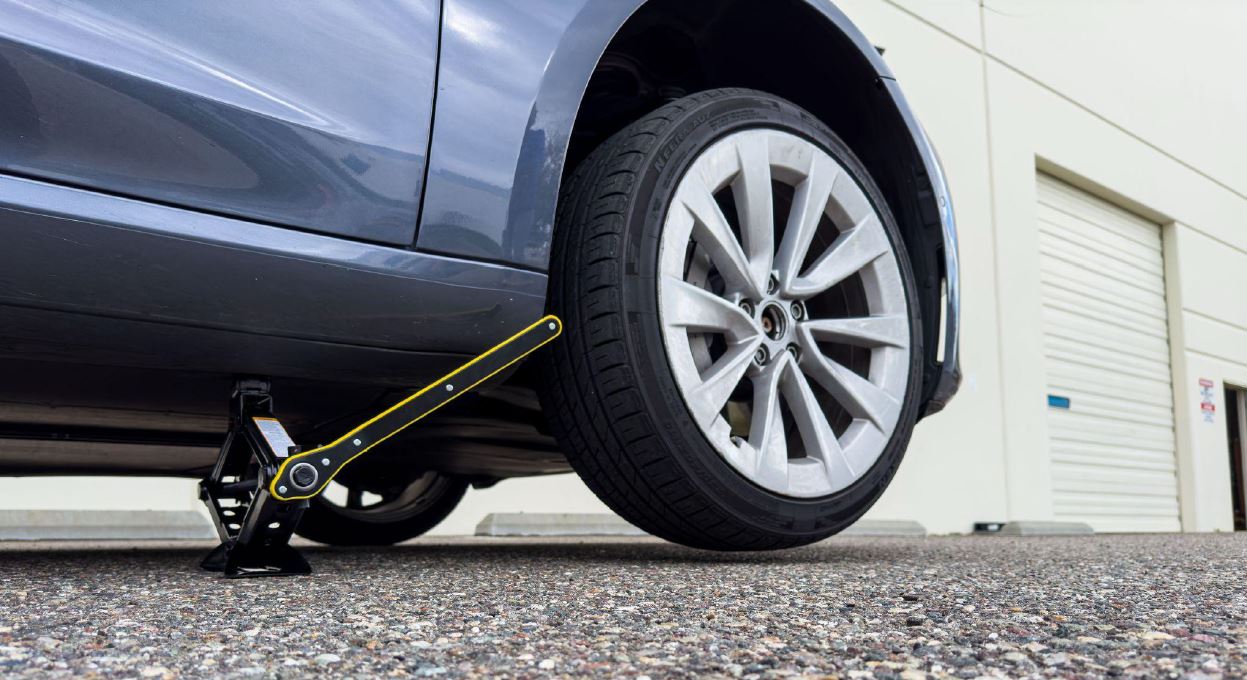
4. Once all lugs have been loosened, continue jacking the car until the tire is lifted off of the ground. NEVER place limbs under the vehicle when it is only supported by the jack.
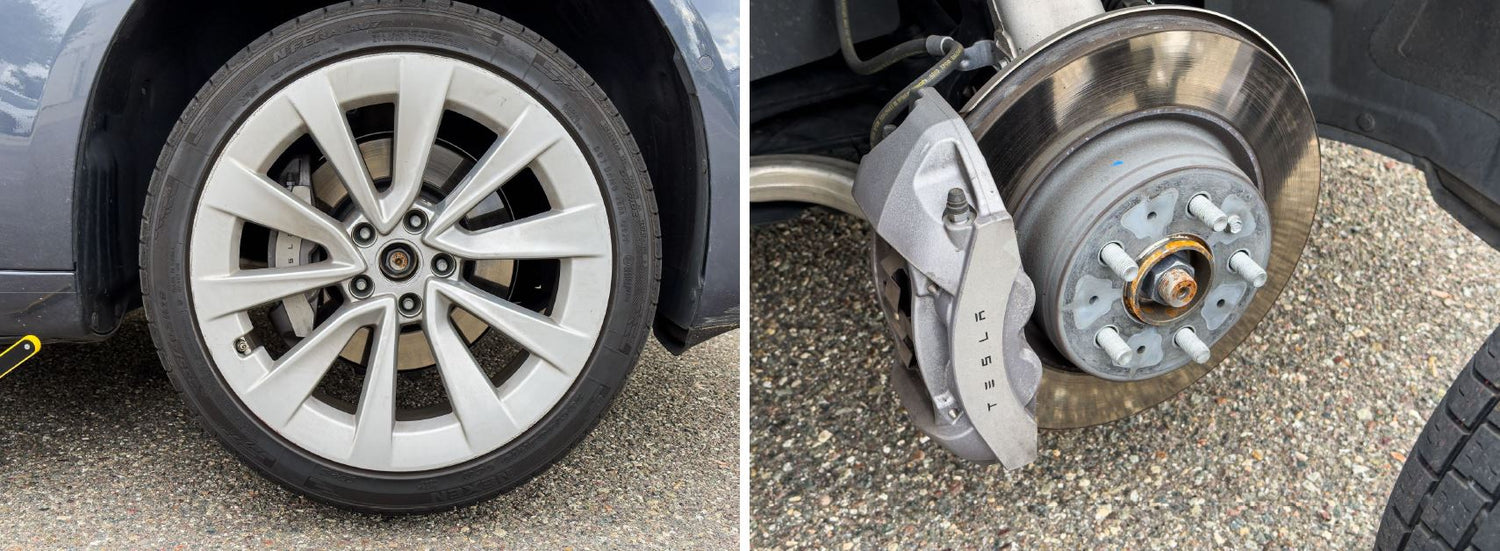
5. Completely remove all lug nuts and remove wheel/tire.
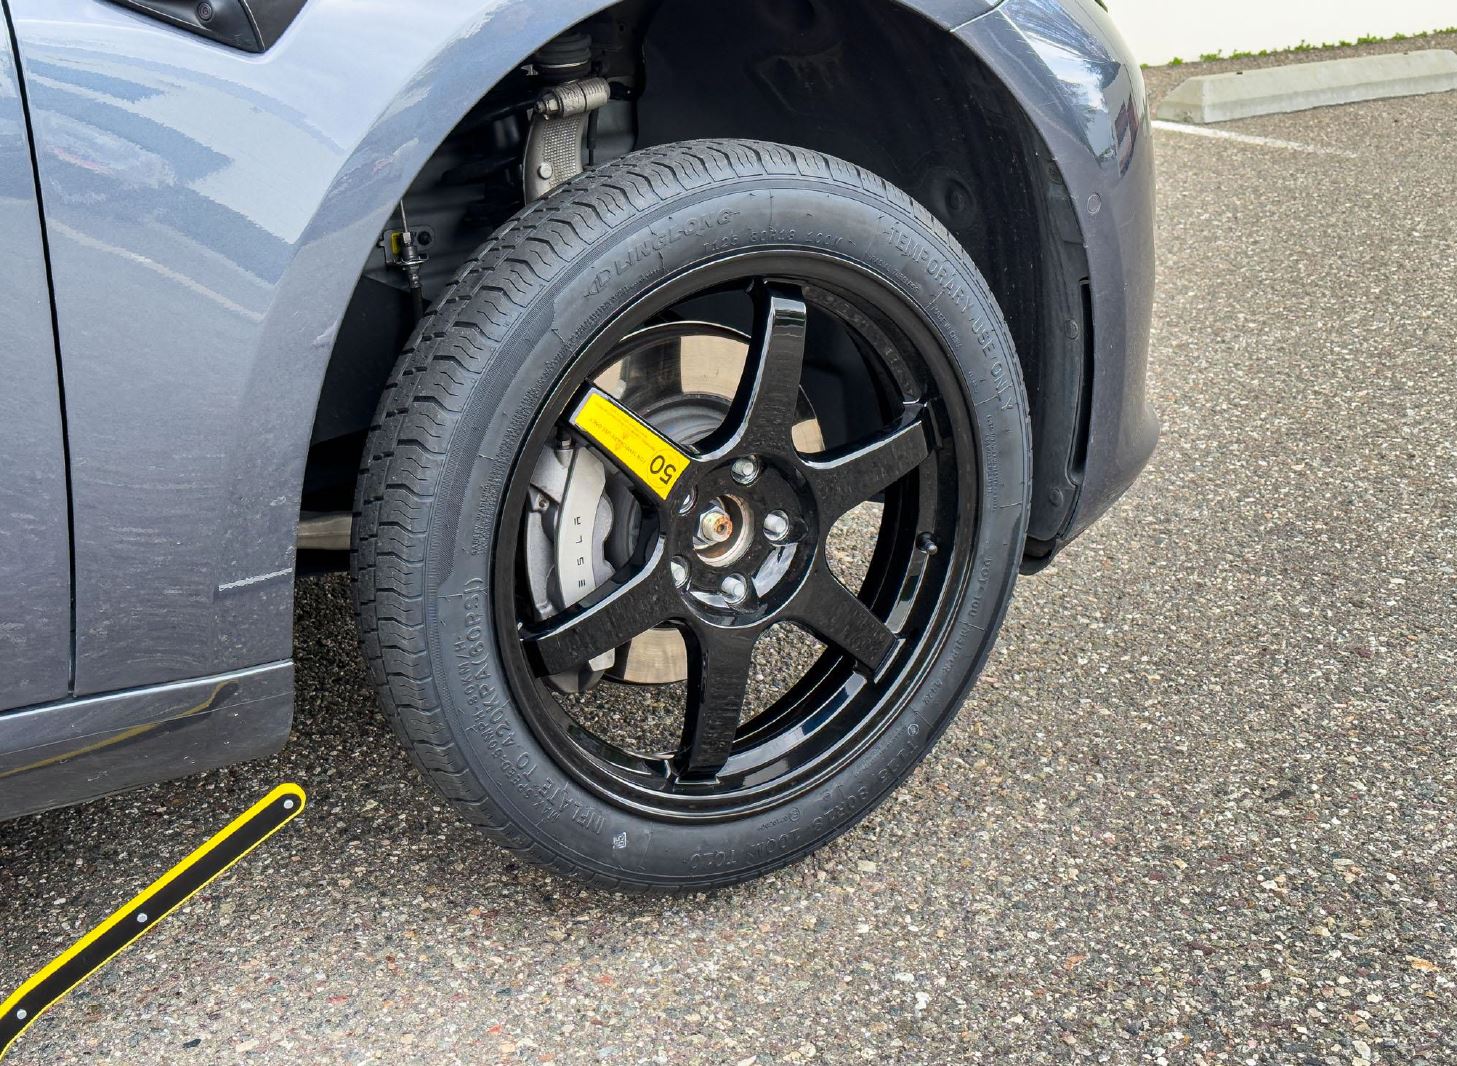
6. Remove the spare tire from the bag and install onto the vehicle. Be sure to line up the studs with the lug holes and ensure that the wheel sits flat against the rotor hat.
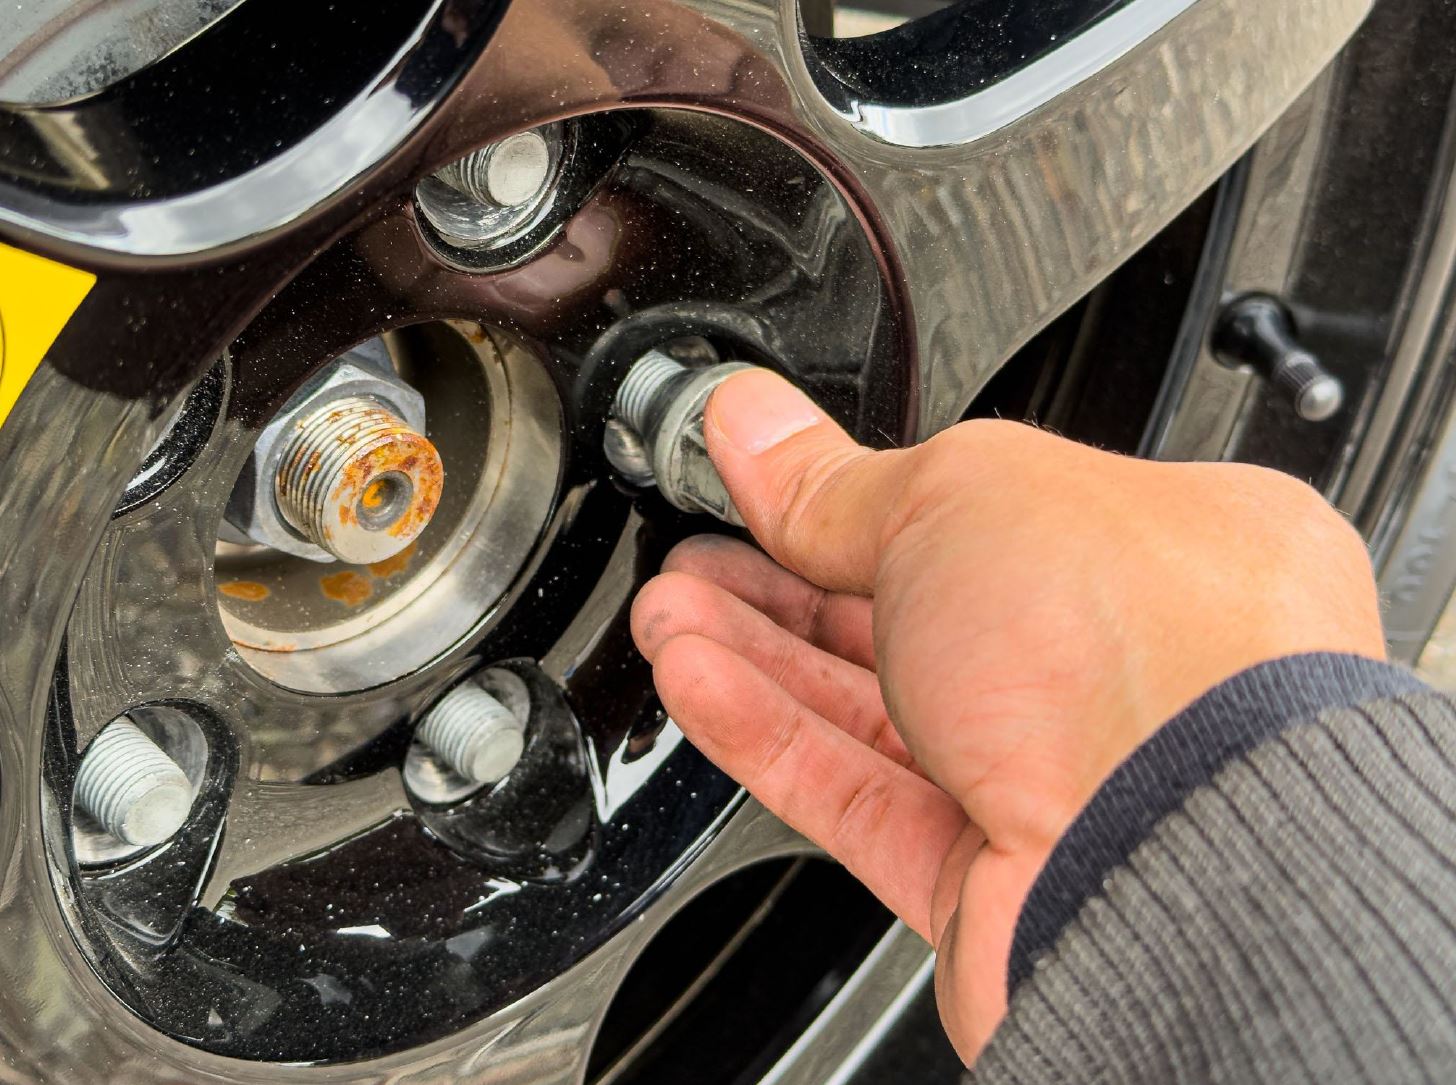
7. Begin securing the spare to the vehicle by hand tightening each of the lug nuts onto the studs in a star pattern.
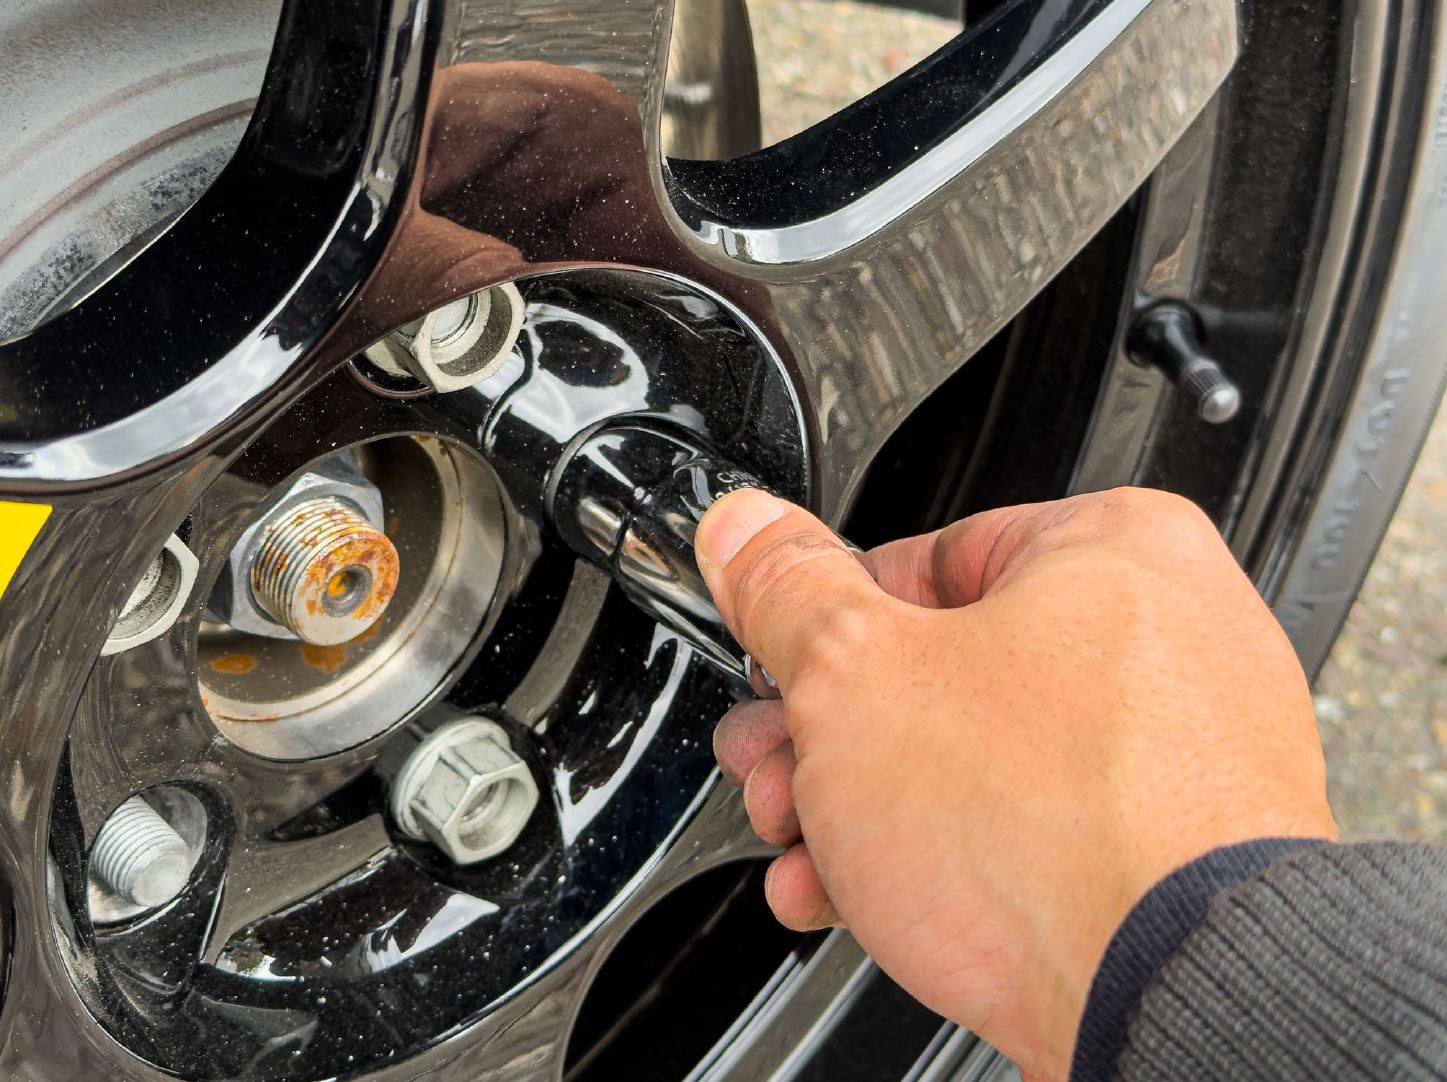
8. Repeat above step with included socket and tighten in a star pattern.
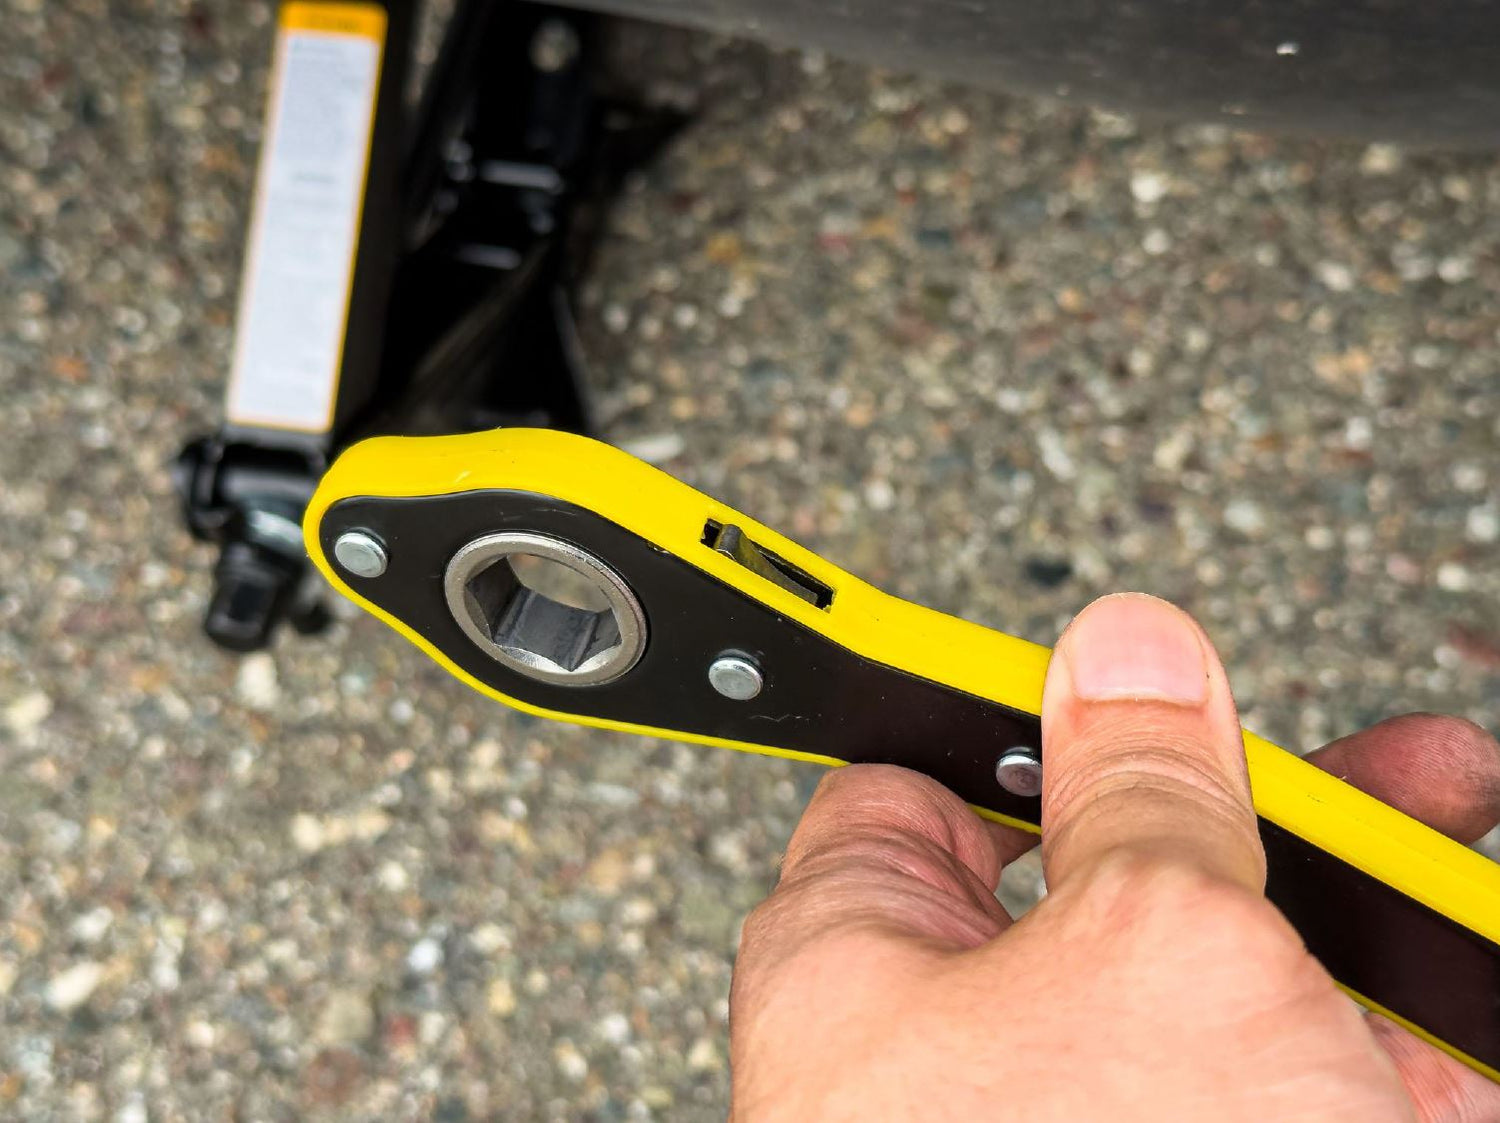
9. Reverse the action on the socket wrench to enable lowering the vehicle.
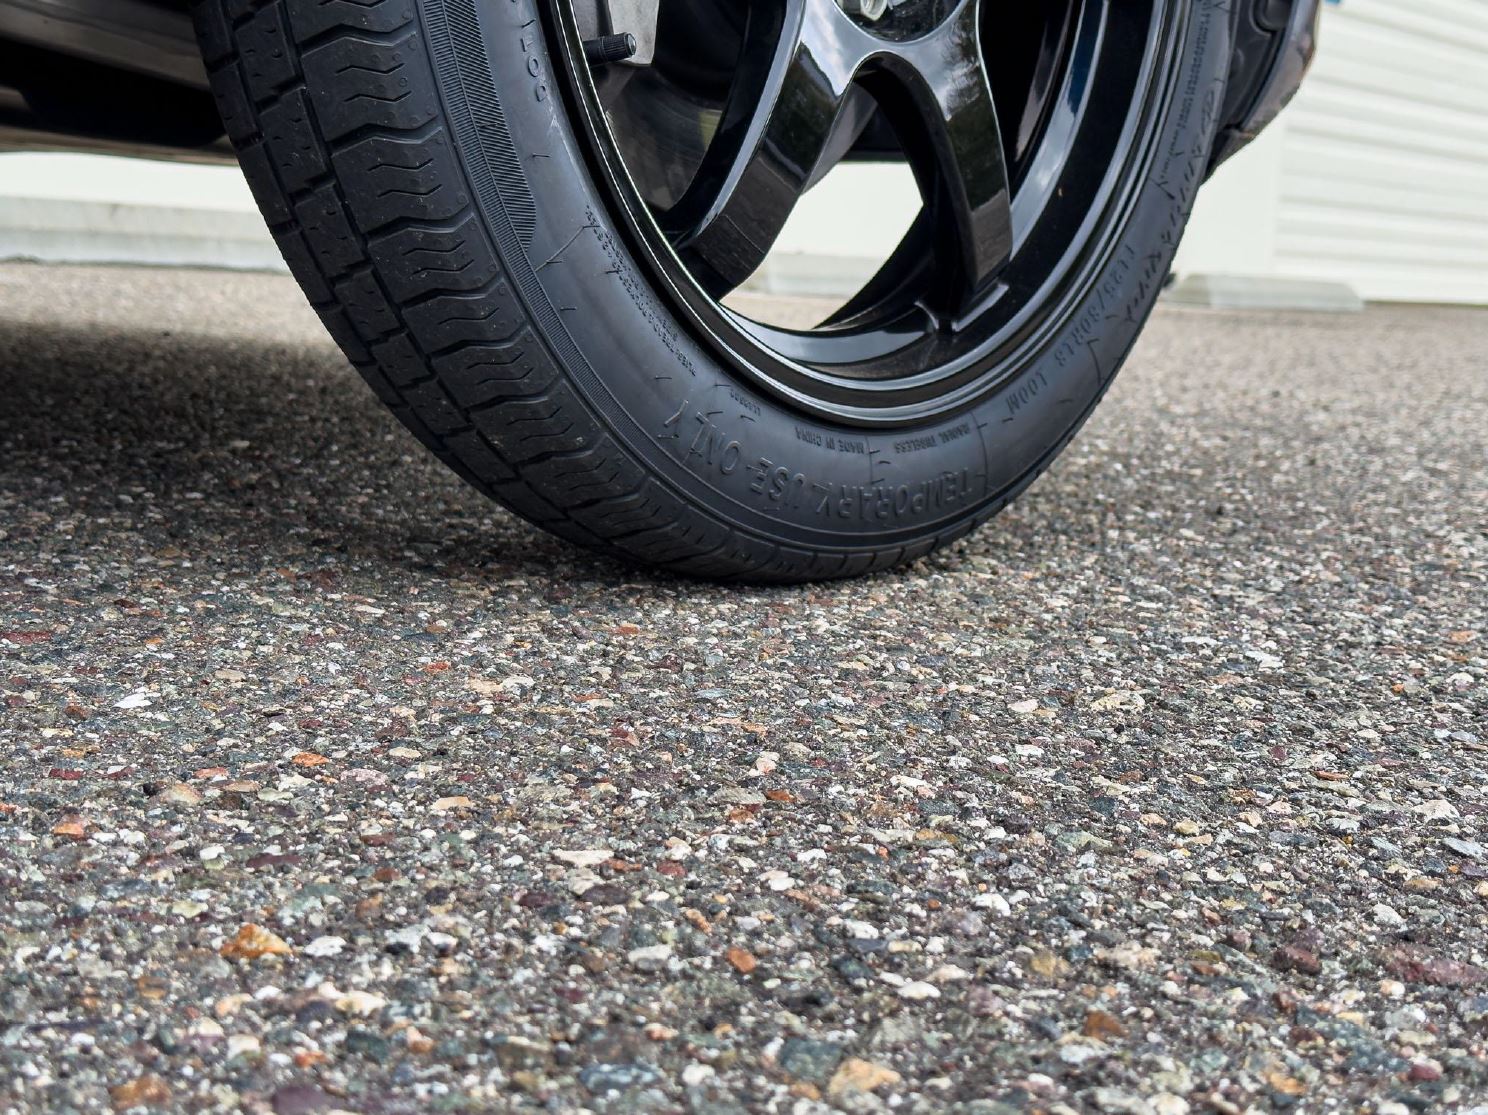
10. Lower the vehicle just enough for the tire to make firm contact with the ground.
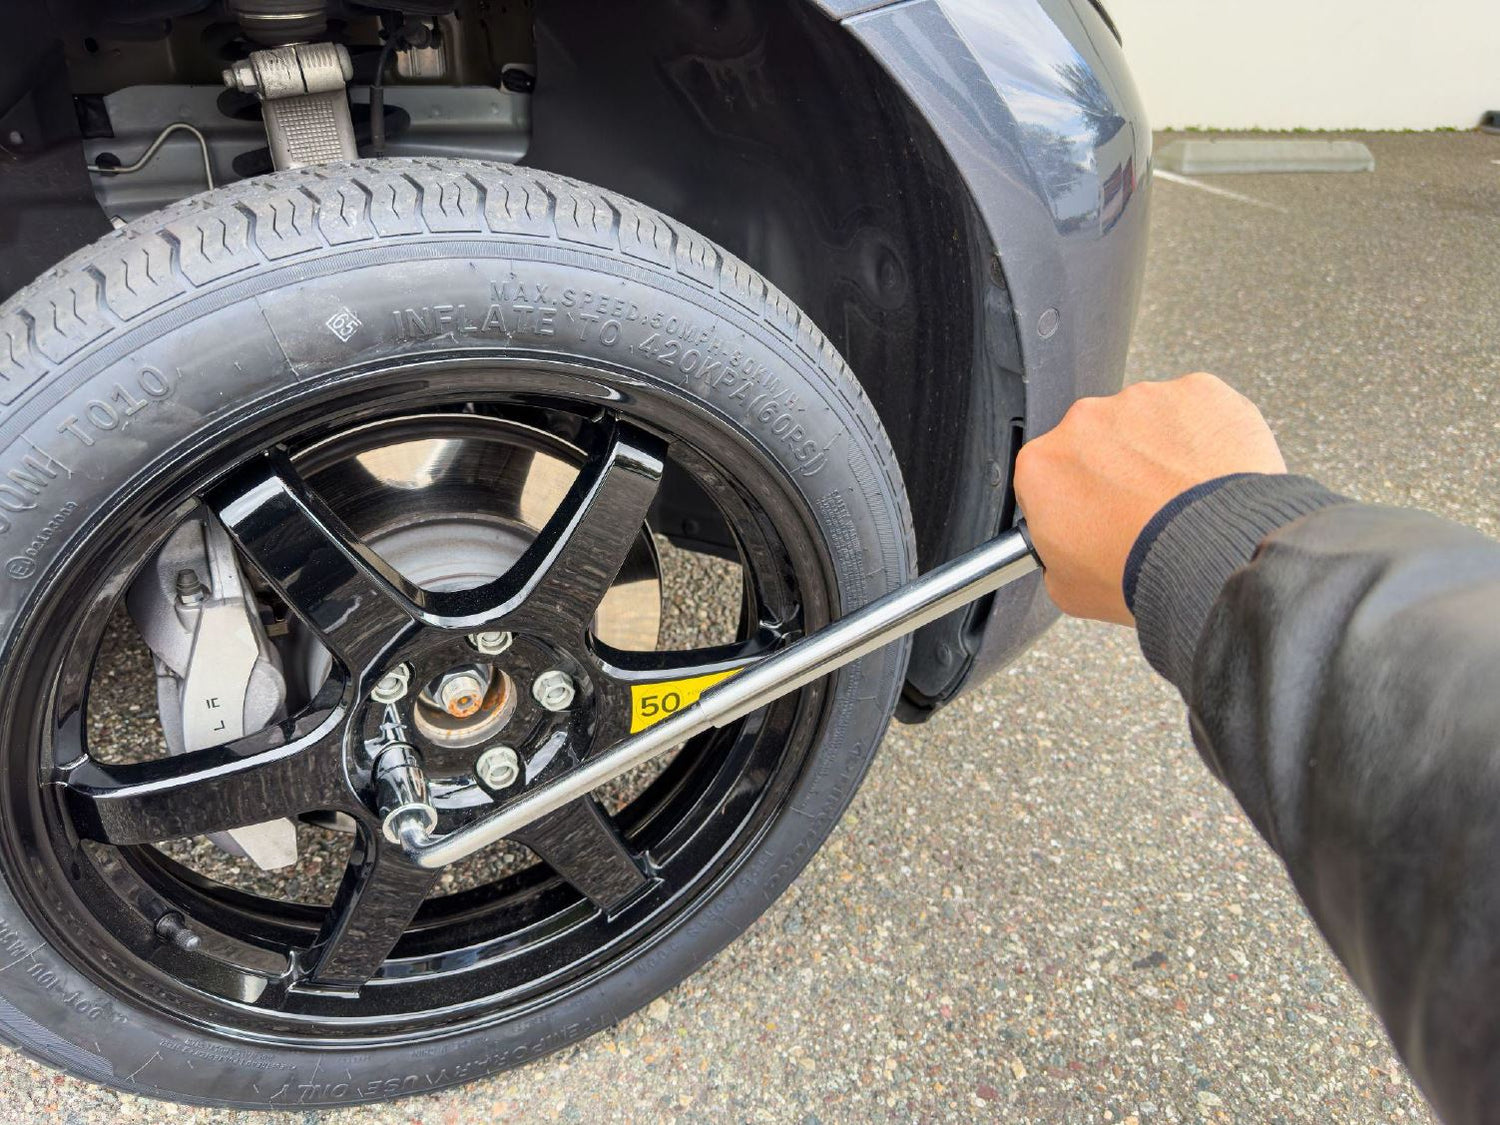
11. Tighten the lug nuts onto the car with the socket wrench in the most extended position. Use a star pattern when tightening. Tighten firmly using the approximate strength required to remove the factory wheel, but DO NOT stand on the wrench handle.
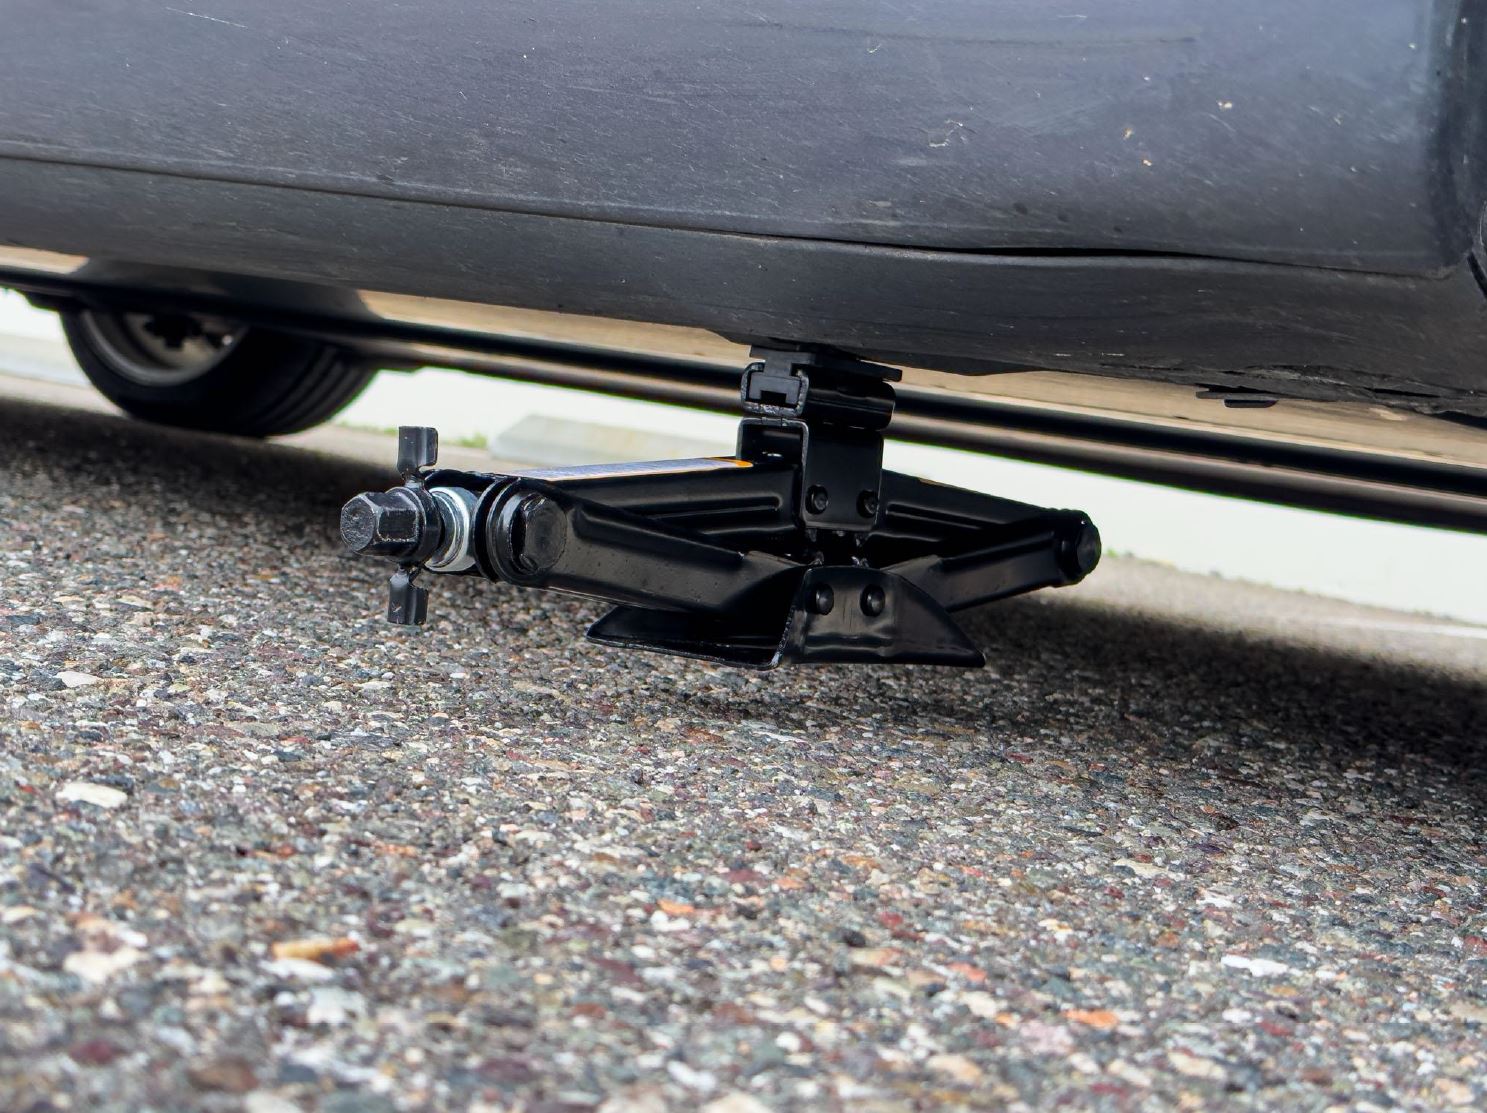
12. Finish lowering the vehicle and remove the jack from underneath the vehicle.
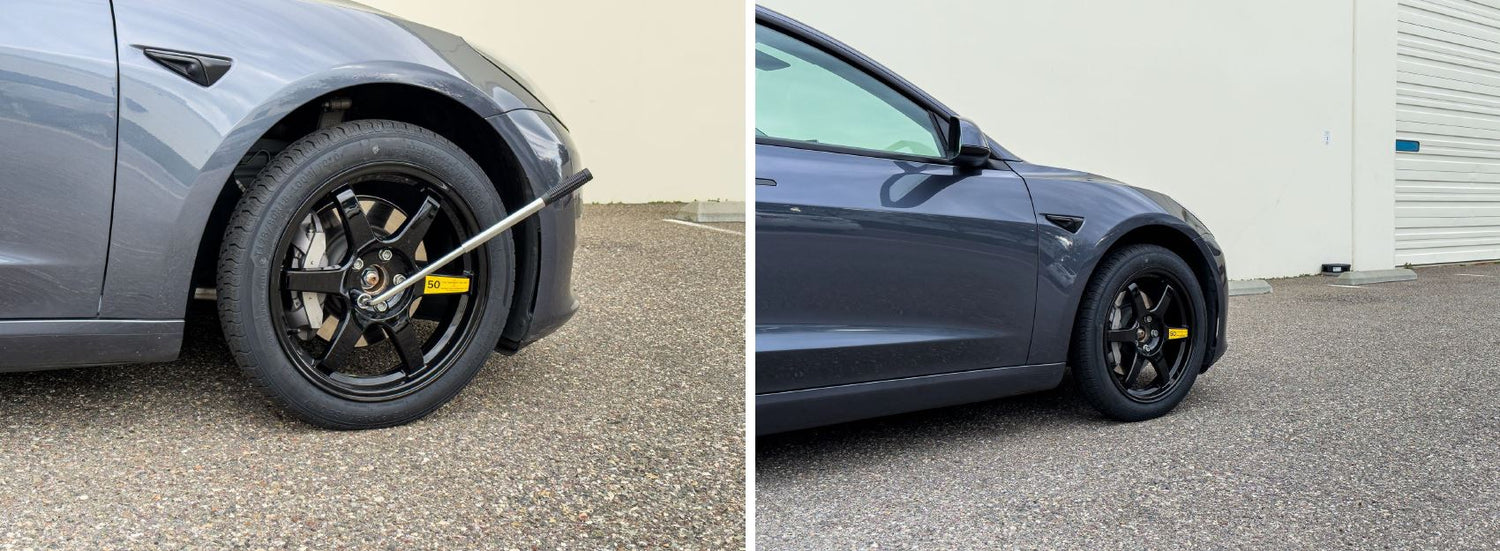
13. Tighten the lug nuts one more time using a star pattern.
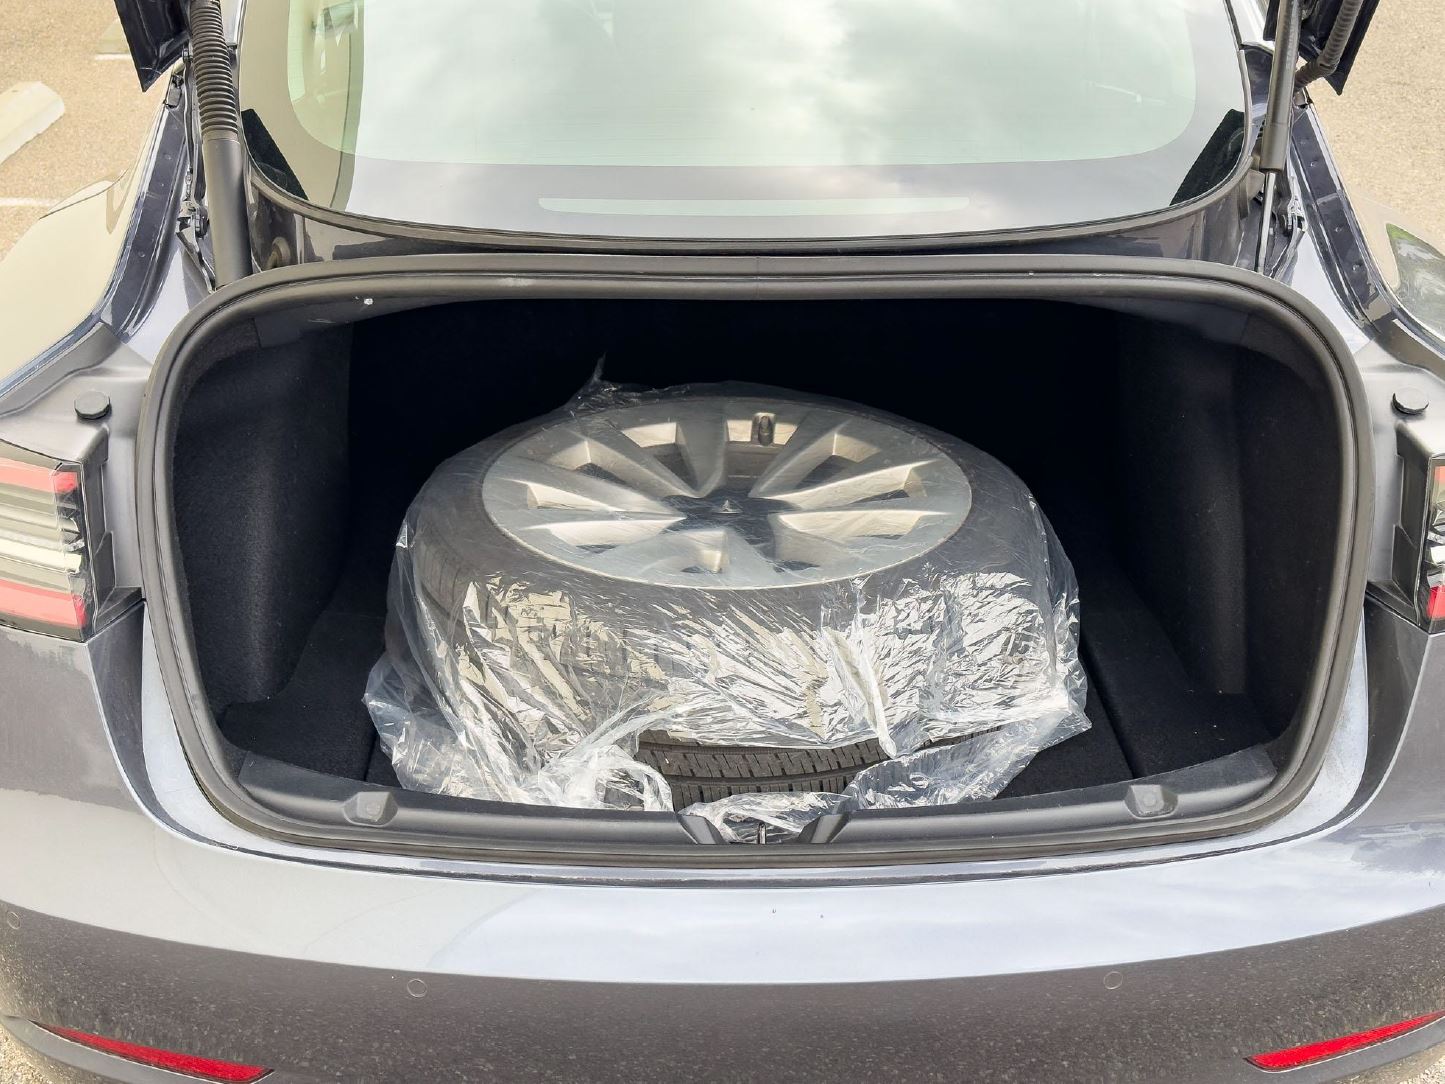
14. Put the flat tire into the enclosed plastic bag and place it into the trunk along with tools.
15. It is advisable to head to the nearest gas station or service center immediately to check the tire
